Product Photography Tips: How YOU Can Take Professional Product Pics

Have you already tried ordering some products from your own dropshipping store? It’s a brilliant idea for numerous reasons! One of them is your opportunity to make tons of entertaining, promotional, and educational content for your customers as you’re literally holding the item in your hands. But how do you make this content engaging and appealing to viewers? Let’s take a look at some product photography tips to make your efforts a success!
Bright, high-quality, eye-catching product photos are one of the most important components of successful advertising campaigns. What’s more, they compose an informative product gallery on your website. It’s not a secret that professional product photos can drive enormous sales, but how to take them when you’re an owner of a dropshipping store? You might have thought of hiring a professional photographer… But what if you’re only in the beginning of your dropshipping journey and on a tight budget? Don’t worry – in this article, we uncover some useful product photography tips that will help your on-site images look truly professional.
Why order your supplier’s products, to begin with?

If you ordered some bestsellers from your store, you’re halfway through making your store filled with beautiful, professional product photos. Ordering bestsellers from your store is quite a wise decision for many reasons.
First, whatever niche you’ve chosen for your dropshipping store, you’re likely to have some personal interest in it. That means, the products placed in your store are probably relevant and valuable to you as well! For example, if you run an auto accessories store, you’re quite likely to be a car owner yourself – and therefore, can benefit from ordering and using some cool items you’re offering.
Second, you can assess the quality of your products by ordering them. If there are some flaws in the items or in the supplier communication, you can easily opt for other products or even change your dropshipping supplier. High-quality products are everything your customers are looking for! And a thankful customer will leave positive feedback on your website, thus proving that your store is reliable.
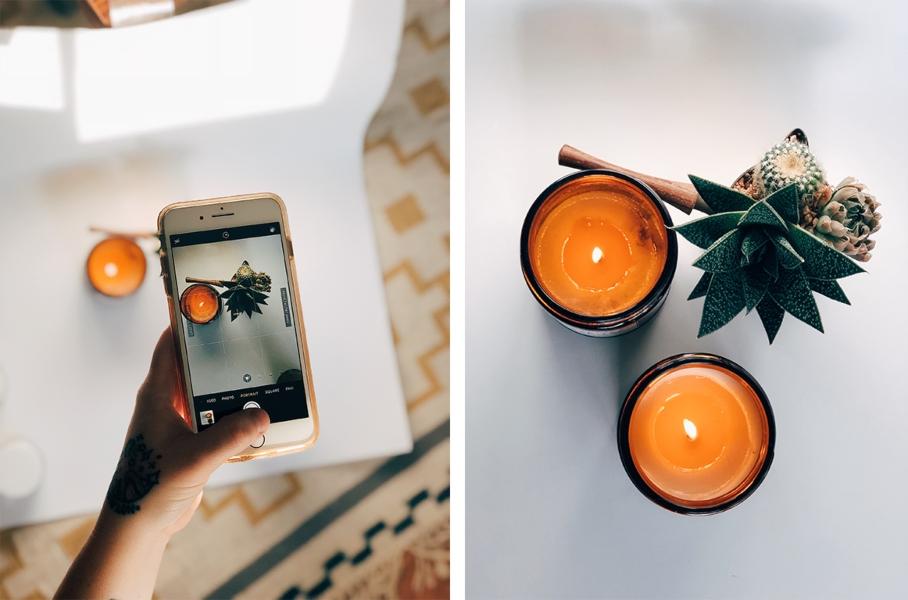
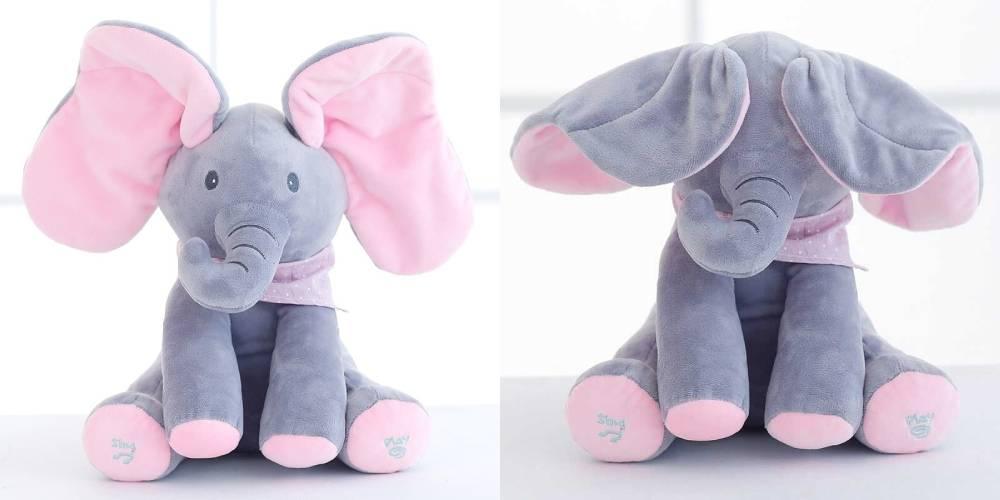
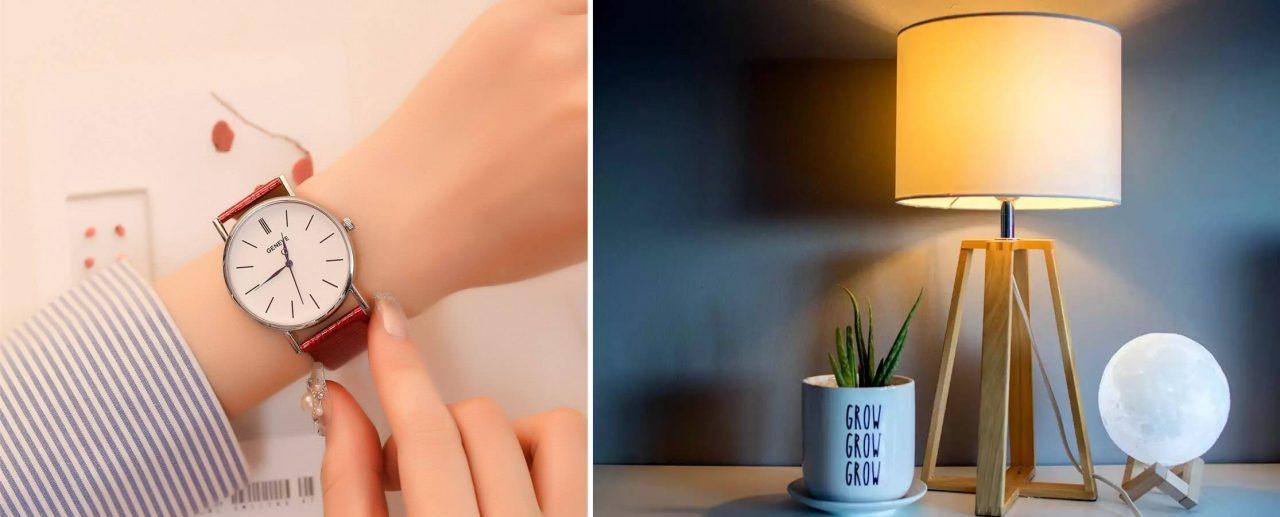
And the third reason to order best selling products from your store is the great opportunity to make unique video reviews and professional photos. With professional product photos, your customers will be able to view your product from multiple angles, examine its details, compare color and size options, and see the product in real-world contexts. This way, your online store will mimic an in-person shopping experience as much as possible.
Product photography tips: getting the right equipment

So, from ordering your store’s bestsellers, we are moving to the next component of making professional photos – the equipment.
If you already started thinking about technically sophisticated professional photographers’ gear at sky-high prices and got frustrated, please don’t! We’ve prepared a list of quite affordable things that will be sufficient for a good professional product photos – check it out:
- A camera or a smartphone with high-quality resolution
- White paper sweep
- A tripod
- Some surface to set your product on (platform, table, mannequin, etc.)
- A source of natural light (window!)
- Masking, duct, or gaffer tape
- White foam core or card stock
- Any photo editing app at your choice
All right, you have your cool best selling product, some fine photo equipment, and now the only remaining question is: how to take professional photos? Let’s move to this part!
Product photography tips: how to take great product pics at home
#1 Learn your camera’s features

It doesn’t matter whether you’re using your smartphone or a camera. In any case, there are lots of settings to take amazing photos and you need to get to know them. Why? You’ll know what one or another tool is capable of and you’ll be able to maximize its functionality. Take some time to become comfortable with your camera or smartphone: eventually, you’ll start taking product photos much faster and more efficiently.
#2 Capture the largest file size possible
It’s much easier to work with the large file size just because you can always downsize it, but not vice versa. If you want to use your images on your store’s website, they need to have the highest resolution possible. You can create smaller versions if needed.
#3 Use a tripod

Do you like blurry photos? Well, unless it’s a photographer’s special idea to create some special mood in the picture, no one likes them. Especially, when we’re talking about product photos for your dropshipping store. Customers need to see the product from all angles, and all details should be clear. A tripod keeps your camera perfectly still, so your image is more likely to be clear and in focus. Set your tripod up in consistent positions for each angle you shoot. Mark your tripod positions so that you can set it up in the exactly same way each time. Keeping consistent angles and shooting distances fr all your products will help your customers compare them and provide a more seamless flow when browsing your website.
#4 Shoot on a white background

We recommend using a white sweep – a seamless background that provides a clean, unbroken backdrop for your product photo. While you can create a sweep with a variety of materials, a large sheet of white card stock or a white paper roll would be the most economical option. Here are some “whys” concerning the white background:
- A clear white background allows the product and its features to stay at the center of the viewer’s attention
- The object can be easily cut out from the background and moved around or composited with other images;
- Using the same white background for all your products, you keep your product colors consistent while colored backgrounds can give an inaccurate depiction of your product’s actual color
- A white background will also keep the file sizes smaller without damaging the image resolution
#5 Avoid mixed lighting
Decide for yourself what kind of light – artificial or natural – you prefer for your photos. To keep the same style for all your product photos, it’s best to stick to one type of lighting. Note that light sources have different color temperatures and can cast different hues on the photographed object. When you’re using a cool LED light on one side of an object and a warm incandescent bulb on the other, you’re going to get inaccurate color results that can be hard to correct.
#6 Turn off the flash
If you are still not very confident with the device you’re using to take pictures, the better decision will be to turn off the flash. Instead, you can use a natural light source (=window). However, if you want to use your camera flash, make sure it doesn’t create these problems:
- Unwanted glare and reflections
- Hard shadows
- Mixed lighting issues
Rather than using your on-camera flash, we recommend adjusting the camera settings. Again, once you’ve figured out the possibilities of your camera or smartphone, the photo shooting process will be much easier for you.
#7 Shoot from multiple angles

Every customer wants to check the product from all possible angles before actually buying it. So, take enough time to make a detailed photo gallery of the product. Believe us, with such a product gallery, your customers will have a shopping experience similar to one in a physical store.
#8 Take close-up shots or use a macro lens

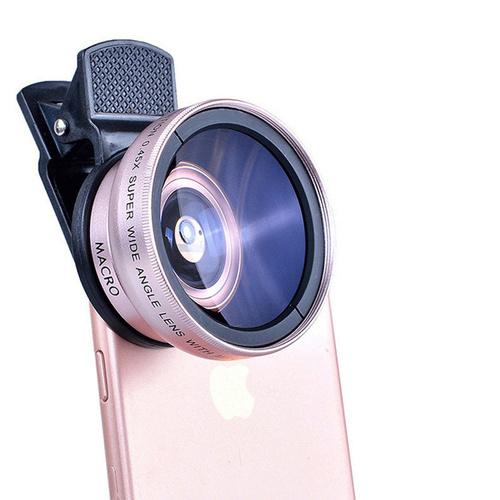
Some kinds of products require close-up photos: for example, jewelry (when you need to show small peculiar details) or clothes (in case people want to check the fabrics). And in this case, we don’t recommend relying on cropping a photo to show the details of your product. If you need to zoom in on extremely small details, like fabric weave, you’ll likely end up with very fuzzy images.
But how to show the small details of the product? If you’re working with a smartphone, you can use a macro lens. They are pretty affordable, and the result will be satisfying enough. Or, you can simply move in as close to your product as you can while still being able to create sharp focus. You might not be able to achieve the same level of detail you would have with a macro lens, but it’s still much better than taking a photo from far away and then trying to zoom it in with your editing software.
#9 Use a photo editing app
Even if you’ve managed to make perfect product photos, you’ll still need to edit them. Balance the light, remove a piece of dust on a product, or create a completely white background – it’s all about editing. There are many different photo editing programs that range from free to paid. Check out our article and explore various editing apps!
#10 Think about lifestyle photos

Of course, shooting on a white background is great for clarity and informational purposes, but you can try taking lifestyle photos to sell your product as well. Lifestyle product photos demonstrate the item’s functionality and help your store visitors imagine how they might use it in their own lives. Lifestyle images also tell the story of your brand and establish an emotional connection.
Summing up our product photography tips
As you might have seen, taking professional product photos for your dropshipping store is not that difficult. All you need to do if you want to drive sales and attract customers to your website is to take product photography seriously and devote some time to experimenting with it.
Consider ordering some of your store’s bestsellers to actually use them in everyday life and to take amazing photos. Think about your budget, equipment, learn your camera’s features & use an editing app. And of course, plan the exciting unique content you can create with these winning products at hand!


